使用Azure Pipeline發佈Artifacts
前言
之前寫過一篇使用Azure DevOps Artifacts來建立自用Nuget Source,發行的方式,在本機使用Power Shell。一開始頻繁修改,對發行方式還很熟,沒什麼問題。
但...隨著時間一久就開始有了以下問題:
- 太久沒更新程式! 要再發行時,就會頓時卡卡的,需要再去溫習一下文章,才知如何下手。
- 同事也要更新程式,但不知如何發行套件.....雖有文章,但....還是不如作者在旁。
以上都是浪費大好青春的瑣事,這兩天剛好看到Azure Pipeline的介紹,就使用它來完成這....雜事吧。
使用方式
1.建立Pipeline
下一步:選擇git來源後,會產生一個Pipeline YAML,嗯...看不懂沒關係,右方的區塊有小助手會幫你,有各式各樣工作可以選擇,例如: VsBuild、MsBuild、Azure Publish等

2.修改YAML,以下為發行到Azure DevOps專案內的Artifacts
# ASP.NET Core (.NET Framework)
# Build and test ASP.NET Core projects targeting the full .NET Framework.
# Add steps that publish symbols, save build artifacts, and more:
# https://docs.microsoft.com/azure/devops/pipelines/languages/dotnet-core
trigger: none
pool:
vmImage: 'windows-latest'
variables:
solution: '**/*.sln'
buildPlatform: 'Any CPU'
buildConfiguration: 'Release'
steps:
- task: NuGetToolInstaller@1
- task: NuGetCommand@2
displayName: 'Restore'
inputs:
restoreSolution: '$(solution)'
- task: VSBuild@1
displayName: 'Build'
inputs:
solution: '$(solution)'
msbuildArgs: ''
platform: '$(buildPlatform)'
configuration: '$(buildConfiguration)'
- task: NuGetCommand@2
displayName: 'Pack'
inputs:
command: pack
packagesToPack: '**/AzureArtifactsLab.csproj'
packDestination: '$(Build.ArtifactStagingDirectory)'
- task: NuGetCommand@2
displayName: 'Push'
inputs:
command: 'push'
packagesToPush: '$(Build.ArtifactStagingDirectory)/**/*.nupkg;!$(Build.ArtifactStagingDirectory)/**/*.symbols.nupkg'
nuGetFeedType: 'internal'
publishVstsFeed: 'Lab Projects/AzureArtifactsLab'
allowPackageConflicts: true
紅字重點:
- trigger預設是 master,簽入後即建置,個人需求,先改none手動建置。
- Build:建置整個方案
- pack:針對Library專案,輸出成nuget套件 ,例如:AzureArtifactsLab.1.0.0.2.nupkg
- 發行到Azure DevOps Artifacts


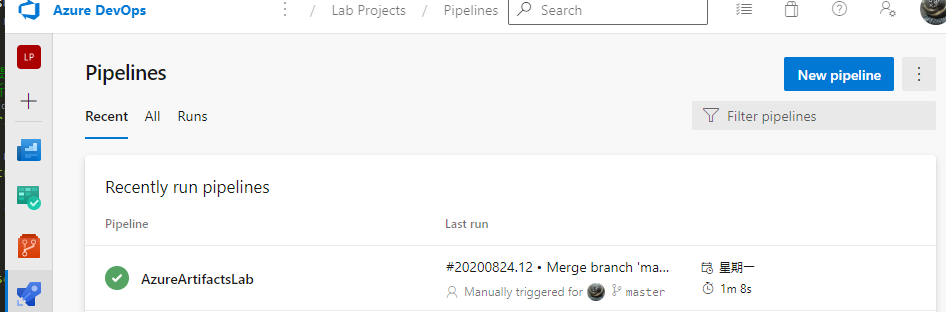
完成後,就可以在Azure DevOps Pipeline一鍵發行了。

其他
- 前一篇文章,專案內的nuget.config及nuget.exe都可以移除,直接使用Azure DevOps的就可以了。
- 此問題我在跨Project的Pipeline時遇到。
- 解決方式: Project設定-->停用Limit Job authorization scope to current projet for non-release pipelines
- 在Pipeline建置的專案設定


其它參考


